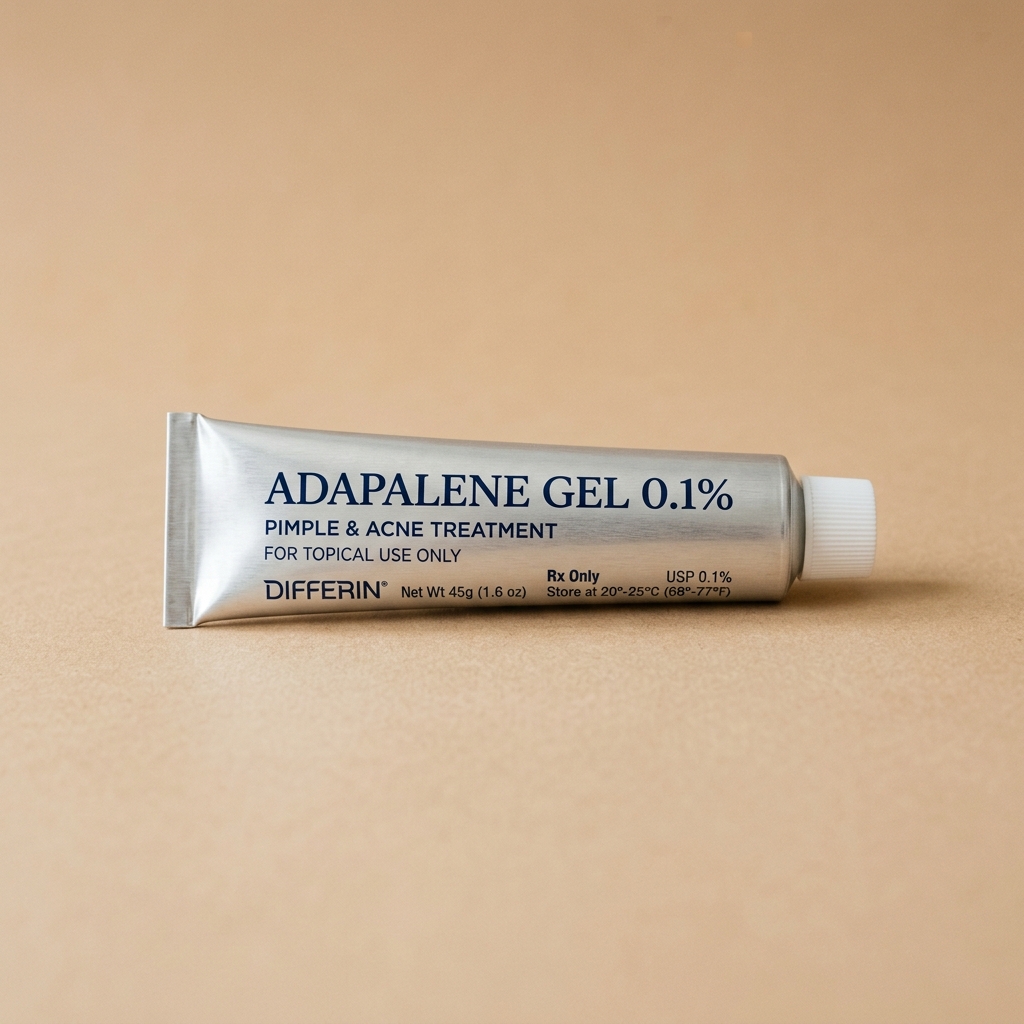
You started using Adapalene gel (like Adaferin or Deriva) to clear your acne. But instead of the glowing skin you were promised, you wake up in week three with raw, red, flaking skin and twice as many pimples as before.
You feel like throwing the tube in the trash.
Stop. What you are experiencing is the notorious Adapalene purge—often called the "retinoid ugly phase." It is not a sign of failure; it is proof that the active ingredient is successfully restructuring your skin cells.
Let's break down the exact week-by-week purging timeline and how to soothe your barrier so you can survive the purge and get to the clear skin on the other side.
1. The Biology: What is a Retinoid Purge?
Adapalene is a third-generation topical retinoid. It works by binding to specific retinoic acid receptors in your skin, accelerating cellular turnover from the standard 28-day cycle to under 14 days.
This rapid cell turnover does not create new acne. Instead, it acts as a deep-cleansing accelerator. It forces microcomedones (clogged pores containing trapped sebum and dead skin cells that were already forming deep under your skin) to mature and rise to the surface all at once.
If you had 30 hidden comedones waiting to emerge over the next three months, Adapalene forces them to erupt over the course of three weeks. It is a necessary clearing process.
2. The Week-by-Week Adapalene Timeline
Every skin type adapts differently, but most users experience this standard 12-week timeline when starting Adapalene 0.1% gel:
Weeks 1–2: The Barrier Shock (Retinization)
Your skin begins adjusting to the molecule. You will notice tightness and dryness, especially around the mouth, nose, and eyes. Mild peeling or flaking occurs along with a slight stinging sensation when applying your basic moisturizer. Limit application to 2 to 3 nights a week.
Weeks 3–6: Peak Purging & Flares
This is the hardest phase, where most users quit. Hidden comedones erupt into active, red papules and small pustules. Acne may look more inflamed than before starting. Dryness and flaking continue. Keep skin hydrated. Do not pick or pop the purging bumps, as this will cause deep scarring (PIH) on Indian skin.
Weeks 7–10: The Subsidence
The storm begins to clear. The formation of new pimples slows down significantly. Active lesions heal much faster, and flaking and redness decrease as the skin barrier adapts. You can now safely increase application to 4 to 5 nights a week or every night if tolerated.
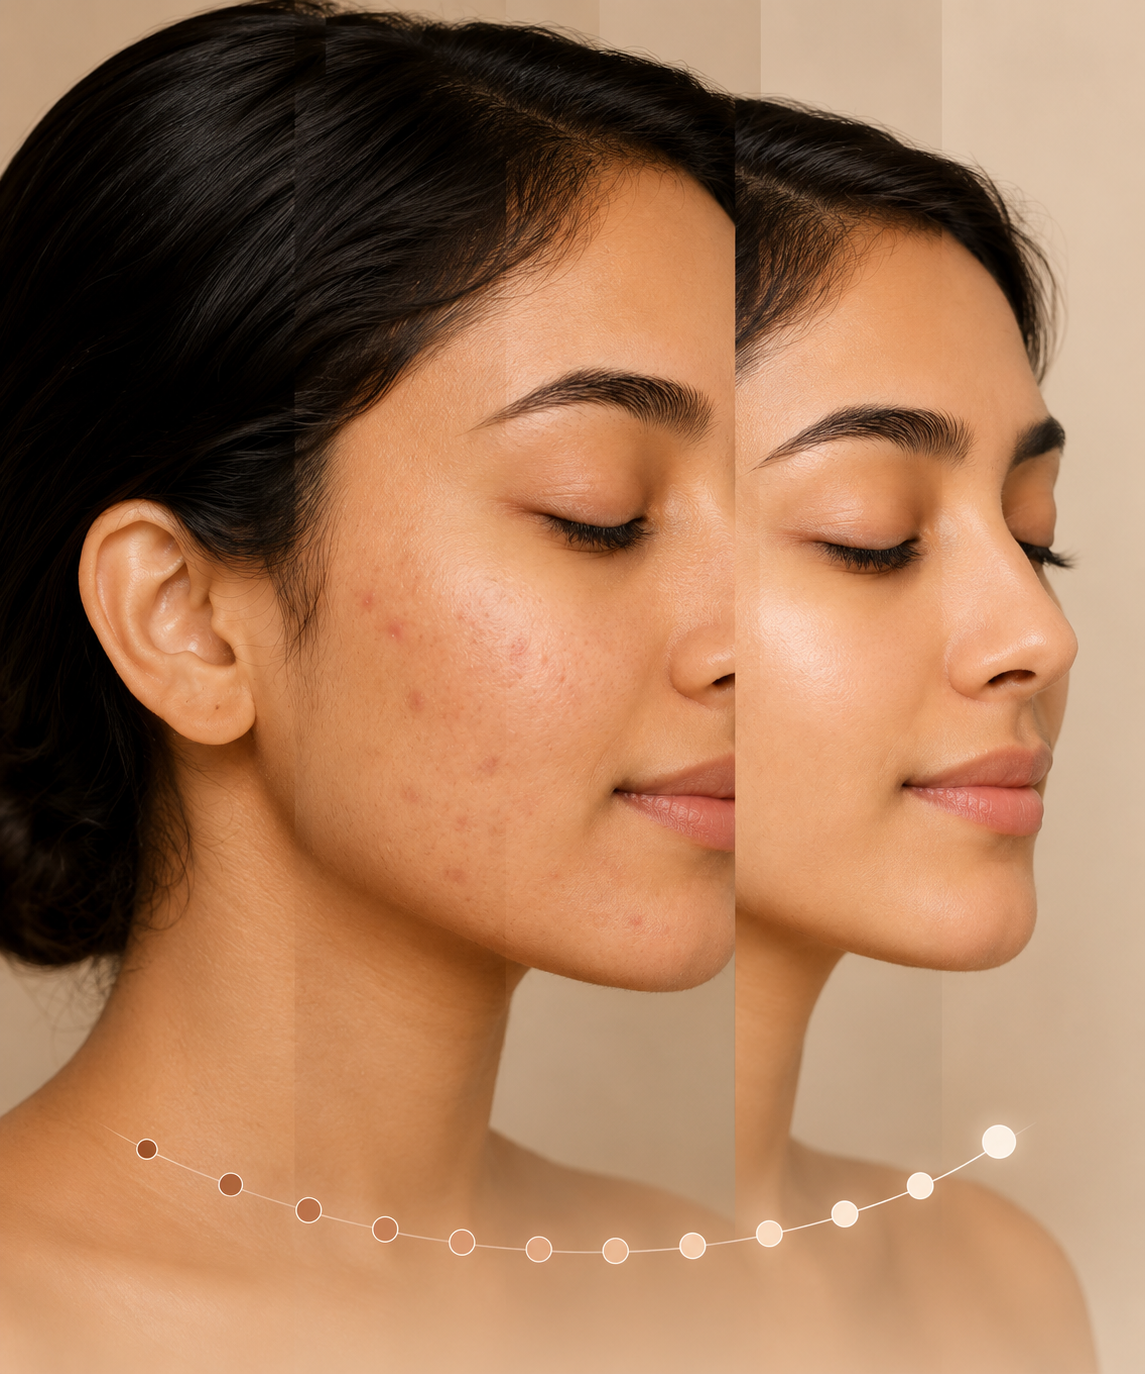
Week 12+: The Retinoid Glow
The reward for your patience: active acne is reduced by 60% to 80%, skin texture is noticeably smoother, and post-acne marks begin fading rapidly due to accelerated cell turnover.
3. How to Tell the Difference: Purge vs. Breakout
How do you know if your skin is successfully purging or if the product is causing a standard allergic breakout? Check these parameters:
| Parameter | Adapalene Purging | Standard Product Breakout |
|---|---|---|
| Location | Occurs only in areas where you normally break out (e.g. cheeks, jawline). | Occurs in new, clear zones where you rarely get pimples. |
| Pimple Type | Small micro-papules and whiteheads that heal quickly (2–4 days). | Deep, painful, itchy bumps or hives that linger for weeks. |
| Skin Feeling | Mild tightness, dry flaking, temporary tingling. | Constant burning, itching, swelling, or hot red patches. |
4. The Purge Survival Protocol
To minimize flaking and survive the purging peak without damaging your skin barrier, implement these dermatologist-approved application protocols:
- The Sandwich Method (Buffer Irritation): If you have sensitive or dry skin, apply a thin layer of a basic, fragrance-free ceramide moisturizer, wait 10 minutes, apply a pea-sized amount of Adapalene gel, and follow with another layer of moisturizer to lock in hydration.
- The Pea-Sized Rule: More product does not mean faster results; it only means more chemical irritation. Use only a pea-sized amount for your entire face. Dot it on your forehead, cheeks, and chin, then smooth it out gently.
- The Active Ingredients Pause: While your skin is purging, stop using all other active exfoliants. Do not use salicylic acid cleansers, glycolic acid toners, vitamin C, or benzoyl peroxide washes. Your sole focus is barrier repair, retinoid application, and sun protection.
5. FAQ: Adapalene Purging
For most users, the purge peaks between weeks 3 and 6 and starts resolving by week 8. By week 12, cellular turnover stabilizes, and active acne is significantly reduced. If skin continues flaring after 12 weeks, consult a dermatologist.
No, light peeling is a normal part of the retinization process. Do not stop completely; instead, reduce the frequency of application to twice a week, buffer it using the Sandwich Method, and ensure you use a rich ceramide cream.
No, Adapalene should always be applied **only at night**. Retinoids are photolabile and can degrade in direct sunlight. Furthermore, retinization makes your skin highly sensitive to UV rays, making nighttime application and next-morning sunscreen usage mandatory.
Is Your Skincare Working Against You?
Many "acne-clearing" products actually contain ingredients that feed the fungus that causes forehead bumps. Stop the guesswork.
Scan your face with MyMirror AI to get a personalized, active-safe routine that finally clears your skin for good.
Start Your Free AI Skin Scan Now