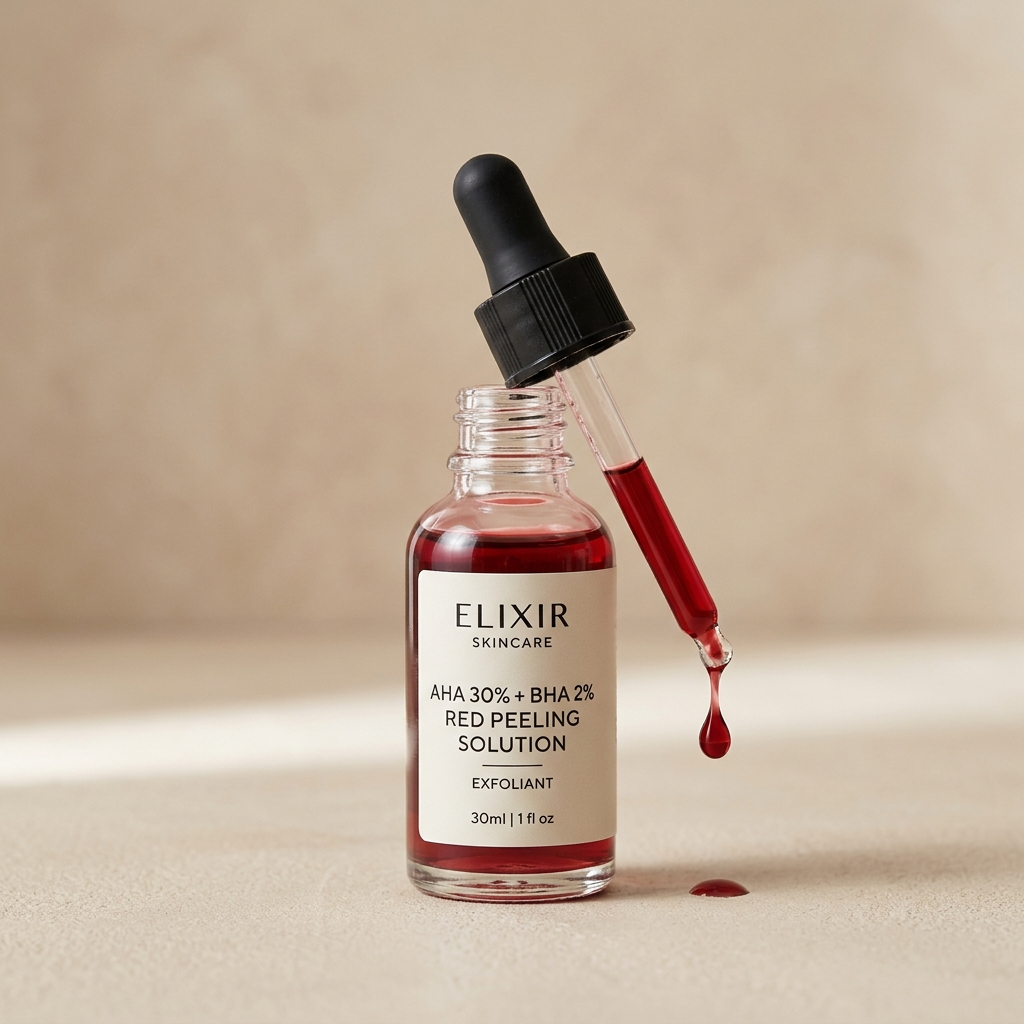

It is the most viral skincare product on Indian social media: a deep, blood-red peeling solution that promises baby-smooth, glowing skin in 10 minutes. Intrigued, you purchase a bottle, apply it, and wait.
But within 90 seconds, your skin starts screaming. It burns, it turns raw red, and after rinsing, you develop dark, scaly patches that evolve into stubborn black marks (PIH) over the next week.
High-strength at-home chemical peels (like the 30% AHA + 2% BHA solution) are not toys. On Indian skin (Fitzpatrick Types IV–VI), which is highly prone to pigment activation from irritation, a simple peeling mistake can damage your skin barrier and set your progress back by six months.
Here is the science-based guide to performing at-home chemical peels safely on Indian skin.
1. The Science: The Pigment Risk of Deeper Skin Tones
Indian skin tones typically fall within Fitzpatrick Types IV, V, and VI. These skin types are characterized by **highly active melanocytes** (pigment-producing cells).
When these skin tones experience trauma, inflammation, or irritation (like an acid burn from a peeling solution), the melanocytes go into a rapid defense response. They flood the inflamed area with melanin, leading to **Post-Inflammatory Hyperpigmentation (PIH)**.
Therefore, unlike lighter skin tones which may simply experience temporary redness after a chemical burn, a burn on Indian skin almost always turns into stubborn brown or black hyperpigmentation that can take months to fade. Safety and caution are not optional—they are mandatory.
2. The "Before You Peel" Safety Checklist
Before you apply a single drop of acid to your face, you must verify these three safety parameters:
- The Barrier Check: Never apply a chemical peel if your skin is currently peeling, flaking, raw, red, or irritated. If you have popped a pimple in the last 48 hours, wait until the skin has completely closed.
- The Active Ingredients Pause: Stop using all prescription retinoids (Tretinoin, Adapalene), salicylic acid washes, benzoyl peroxide, and vitamin C serums for 48 hours before performing a peel.
- The Patch Test Protocol: Apply a small dot of the peeling solution behind your ear or just under your jawline. Leave it on for 5 minutes, rinse it off, and wait 24 hours. If you experience any redness, swelling, blistering, or itching, do not use the product on your face.
3. The 10-Minute Peel Protocol (Step-by-Step)
If your skin barrier is healthy and you have passed the patch test, perform the peel using this clinical protocol:
Step 1: Cleanse with a Gentle Wash
Wash your face with a basic, soap-free, non-stripping cleanser (like *Cetaphil Gentle Cleanser*). Do not use an exfoliating wash containing salicylic acid or glycolic acid.
Step 2: The "Bone Dry Skin" Rule (Critical)
Pat your face dry with a clean towel and wait 15 to 20 minutes. Your skin must be 100% bone dry before applying the peel.
Step 3: Apply with Care (Avoid Sensitive Areas)
Use a dropper to apply a few drops to your fingertips, then smooth a thin layer across your forehead, cheeks, and chin. Avoid the eye sockets, the corners of your nose, and your lips. Applying petroleum jelly (Vaseline) to these areas beforehand creates a protective shield.
Step 4: Set a Timer (Start Low)
Start your timer immediately. For beginners, leave the peel on for only 3 to 5 minutes. As your skin builds tolerance, you can slowly increase the time, but never exceed 10 minutes. If you feel an intense, painful burning sensation (rather than a mild tingling), rinse it off immediately.
Step 5: Rinse and Neutralize
Rinse your face thoroughly with plenty of cool or lukewarm water. Do not use face wash, washcloths, or scrubs. Pat dry gently.
Step 6: Post-Peel Recovery (Seal the Barrier)
Immediately apply a rich, fragrance-free moisturizer containing **Ceramides**, **Hyaluronic Acid**, or **Squalane** (such as *Re'equil Ceramide & Hyaluronic Acid Moisturizer* or *Bioderma Atoderm Intensive Baume*).
4. Acid Types: Choosing the Right Peel for Your Level
Not all chemical peels are created equal. Choose an acid profile suited to your skin tolerance:
| Peel Category | Active Ingredients | Skin Fit | Safety Profile |
|---|---|---|---|
| Beginner | Mandelic Acid, Lactic Acid, PHA | Sensitive or dry Indian skin | Very High (large molecular size penetrates slowly, minimizing burn risk) |
| Intermediate | Salicylic Acid (2%–5%), Glycolic Acid (5%–10%) | Oily, acne-prone, texture-heavy skin | High (effective exfoliation with low irritation risk if used correctly) |
| Advanced | AHA 30% + BHA 2% Peeling Solutions | Tolerant, experienced skin | Medium (high risk of chemical burns if left on too long or applied on damp skin) |
5. FAQ: Chemical Peels Safety
Never use a high-strength peeling solution more than once a week. For beginners, once every two weeks is sufficient. Over-exfoliation will strip your skin's acid mantle, leading to reactive breakouts and barrier damage.
Your skin is highly sensitized to UV radiation after a peel. Avoid direct sun exposure for 24 to 48 hours. You must apply a broad-spectrum, physical or hybrid sunscreen (SPF 50, PA+++) every morning, even if you are staying indoors.
If your skin is red, raw, oozing, or scaly: Stop all active ingredients immediately. Rinse with cold water. Apply a thin layer of pure Vaseline or an aloe-based barrier cream (like *Cicaplast* or *Atorep*). Avoid all makeup and sun exposure until the skin has completely healed.
Is Your Skincare Working Against You?
Many "acne-clearing" products actually contain ingredients that feed the fungus that causes forehead bumps. Stop the guesswork.
Scan your face with MyMirror AI to get a personalized, active-safe routine that finally clears your skin for good.
Start Your Free AI Skin Scan Now