Hello from MyMirror! If you’ve spent hours staring into the mirror, frustrated by stubborn acne that just won't budge, you are not alone.
Picture this: It's the peak of an Indian summer. Between the relentless humidity, the daily commute pollution, and the inevitable stress of daily life, your skin is acting out. You’ve tried every desi nuskha—turmeric pastes, multani mitti, and neem water—but the breakouts keep returning, leaving behind dark, stubborn marks (hyperpigmentation) that take months to fade.
A dermatologist may recommend Adapalene to target the root cause of these breakouts. Before starting, most patients want to understand realistic visual milestones. Topical retinoids require patience rather than overnight miracles. Let us walk through the realistic week-by-week timeline, how your skin adapts, and what actual before-and-after results look like for Indian skin.
Adapalene is a modern, gentle vitamin A gel (retinoid) designed specifically to clear stubborn acne. Unlike older retinoids like traditional Tretinoin—which often cause intense peeling, burning, and redness—Adapalene works directly inside oil-clogged pores with far less surface irritation.
Throughout your treatment, three key actions happen beneath the surface to clear your skin:
When tracking the before and after adapalene gel journey, patience is your best friend. Here is what the timeline actually looks like:
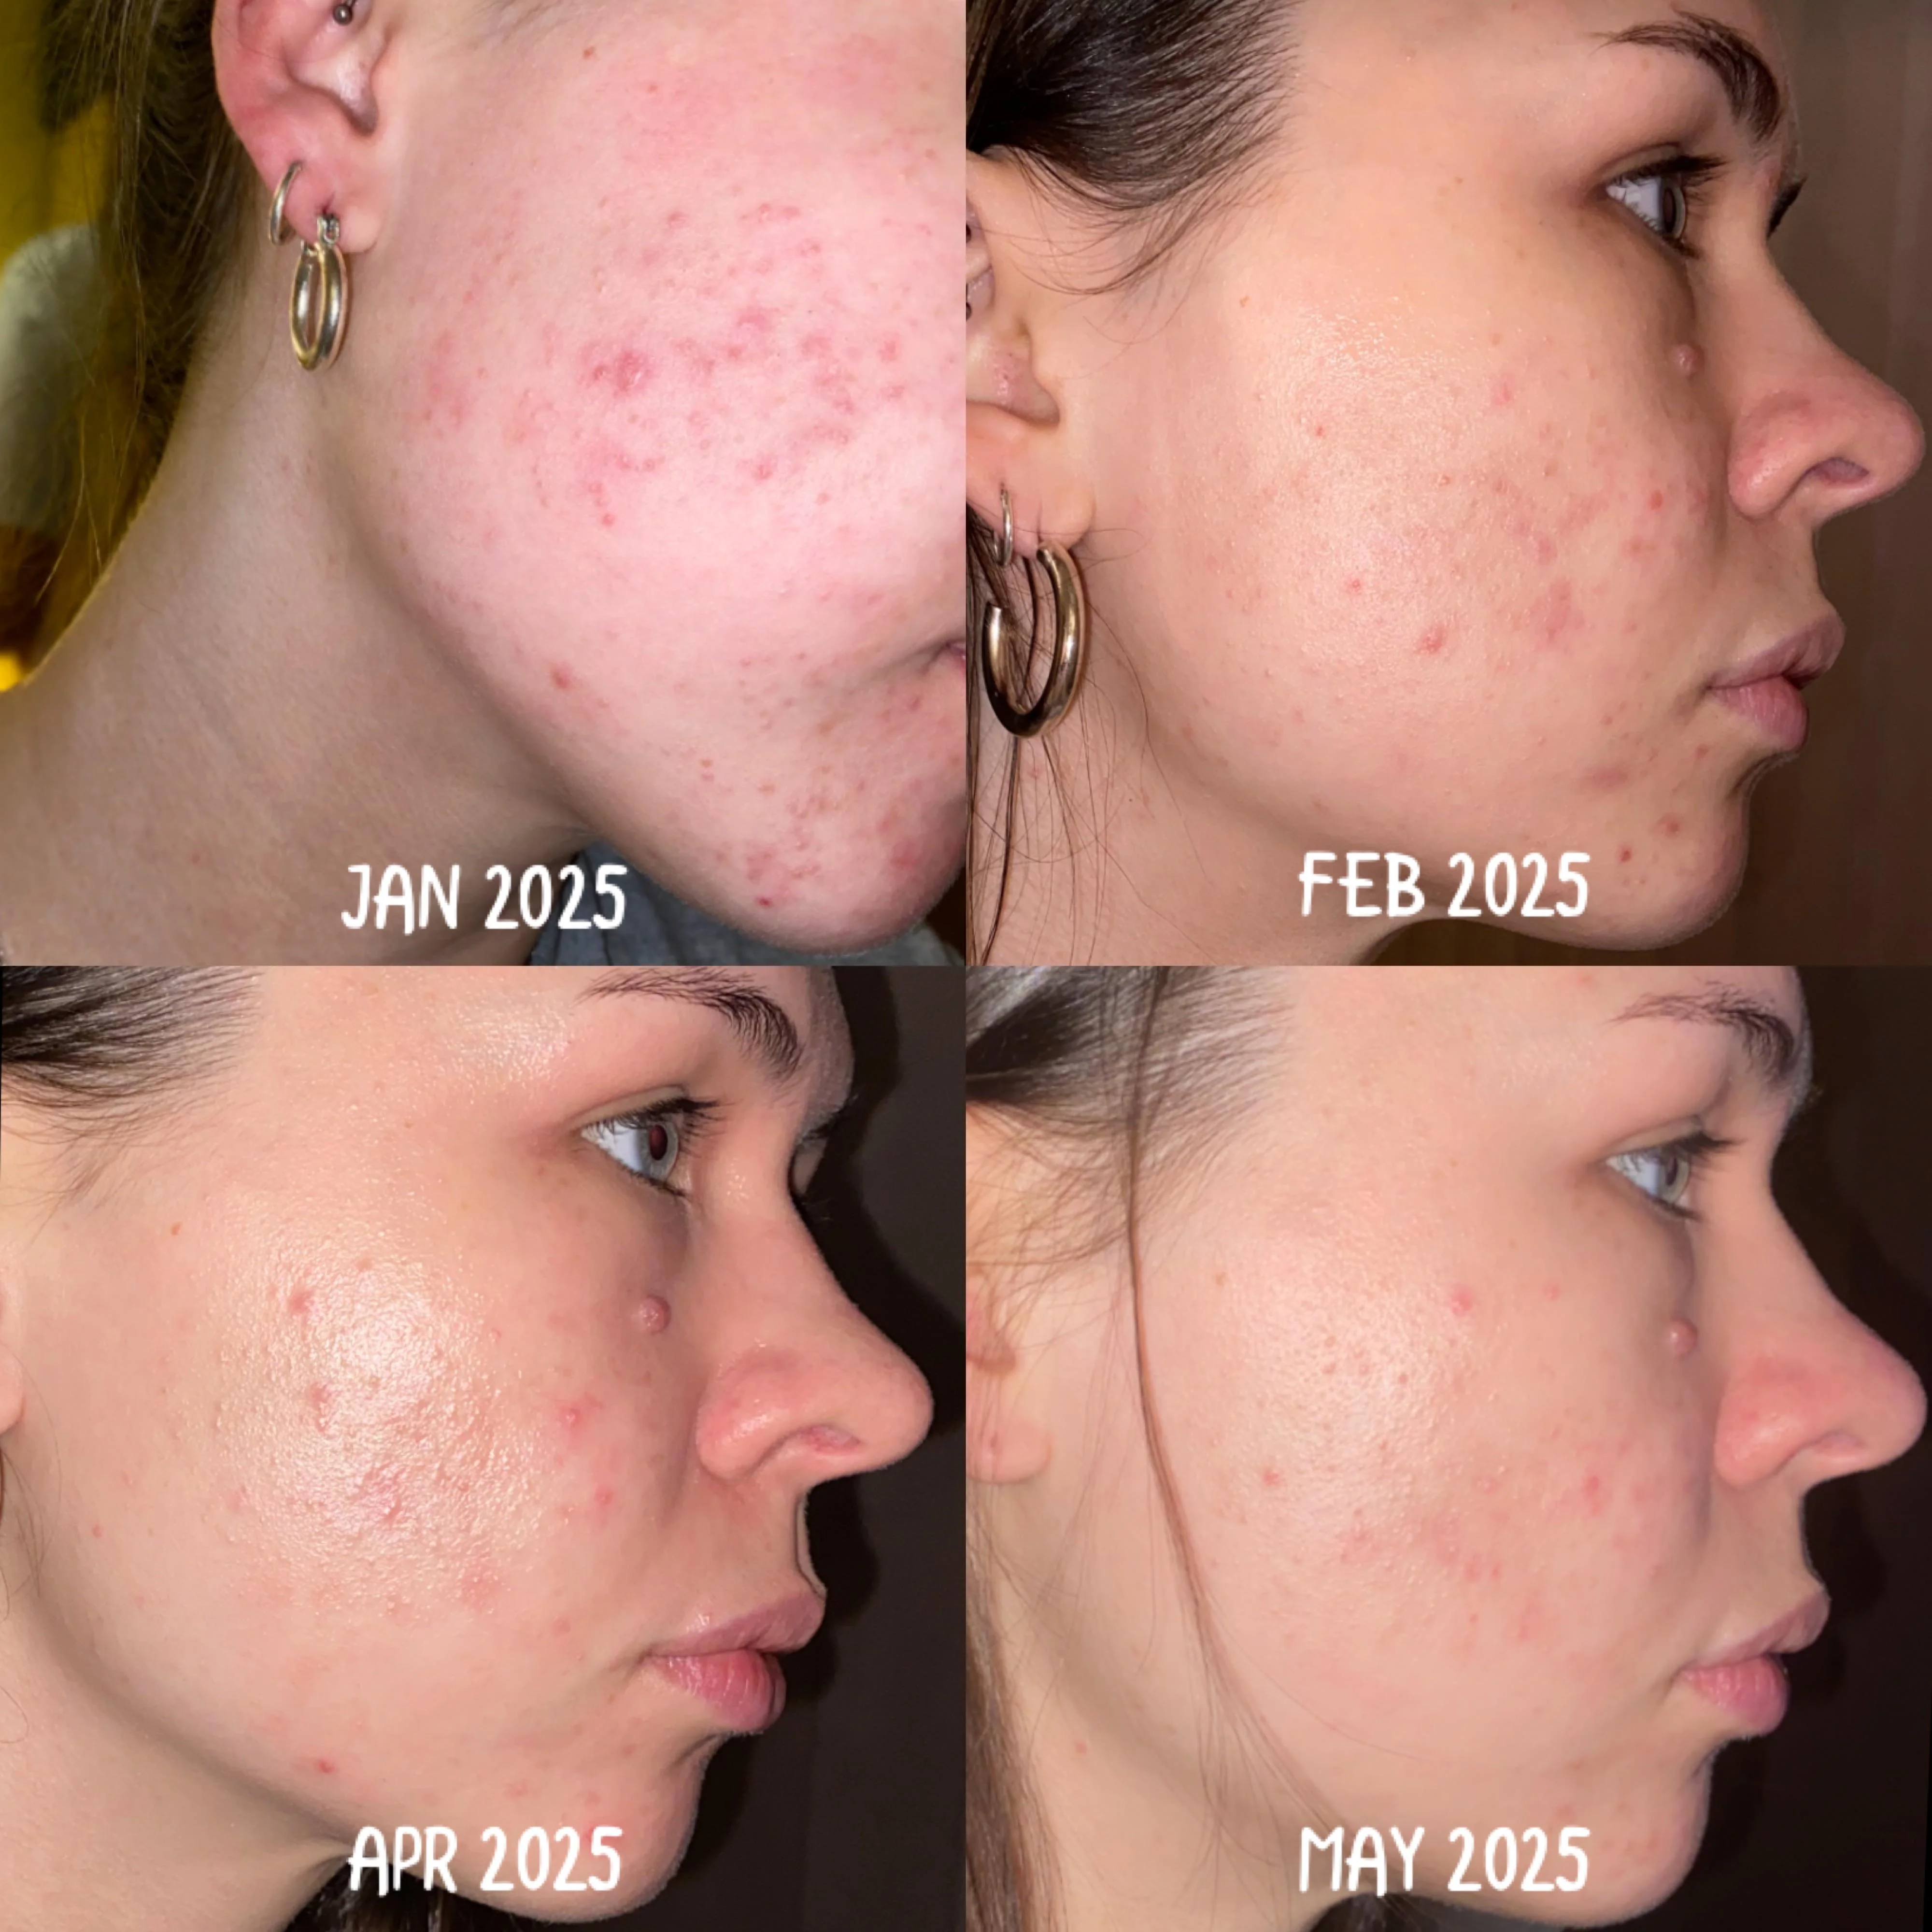
Phase 1 (Weeks 1 to 4): Cell Renewal & Temporary Purging
During the first month, accelerated cell turnover pushes existing sub-surface clogged pores and tiny hidden bumps outward at once. You may experience temporary mild redness, light peeling around the mouth and nose, and an initial wave of surface pimples. In dermatology, this purge signals that the medicine is actively clearing deep pores rather than causing an allergic reaction.
Phase 2 (Weeks 5 to 8): Visible Reduction in Active Acne & Pimples
By weeks 6 to 8, visible reduction in active acne or active pimples sets in. Inflammatory breakouts noticeably calm down, the formation rate of new pimples drops significantly, and skin tolerance improves with far less flaking or tightness as your skin barrier adapts.
Phase 3 (Weeks 9 to 12+): Texture Smoothing & Fading Dark Marks
Between weeks 10 and 12, notable texture smoothing and post-acne mark lightening become evident. Rough texture softens, pores appear cleaner, and stubborn post-inflammatory hyperpigmentation sheds steadily under renewed cell turnover. For persistent hormonal or cystic acne, dermatologists may evaluate stepping up to 0.3% formulations.
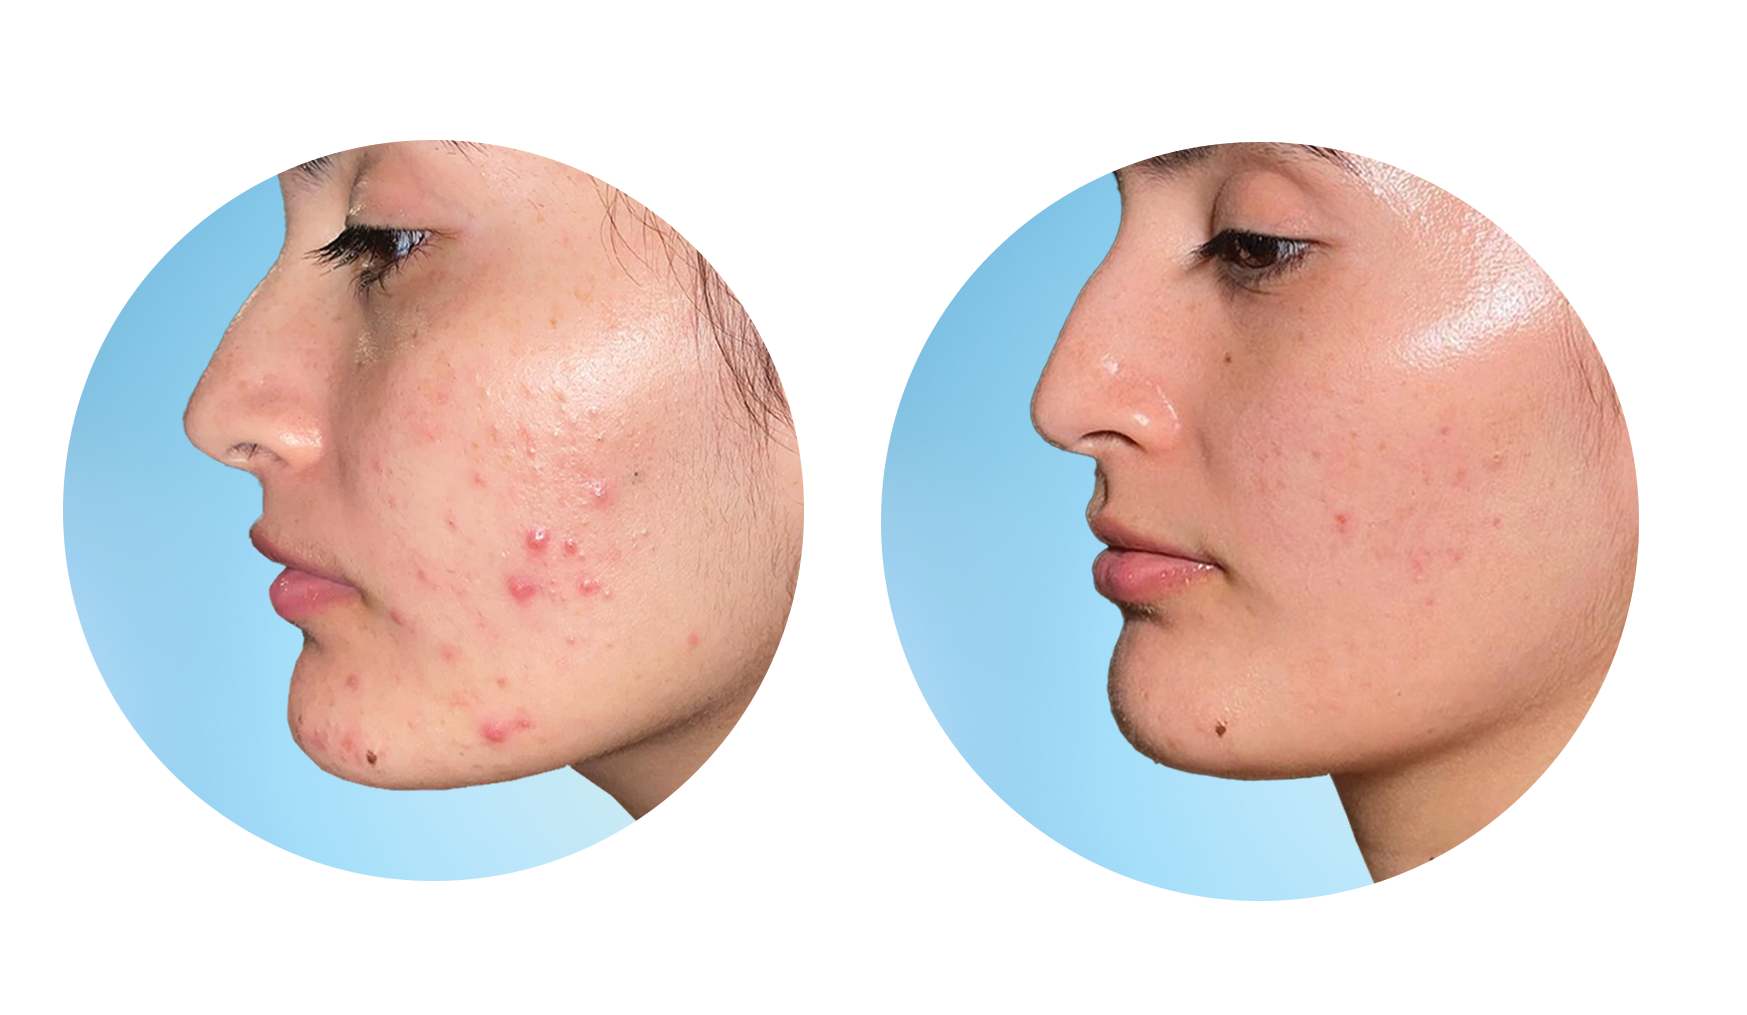
Sometimes, Adapalene needs a sidekick to tackle specific types of Indian acne.
Adapalene Combined with Clindamycin (Dual Antibacterial Action)
If your mirror reflects angry, pus-filled zits (pustules), your doctor might prescribe a combination gel. Clindamycin is an antibiotic that kills the acne-causing bacteria, while Adapalene clears the pore. The before and after adapalene and clindamycin phosphate gel results are often incredible for inflamed acne, showing rapid reduction in redness and swelling within just a few weeks.
Adapalene Combined with Benzoyl Peroxide (Epiduo Formula for Cysts)
For deep, painful, cystic hormonal breakouts, dermatologists turn to this heavy hitter. Benzoyl Peroxide introduces oxygen into the pore, which acne bacteria hate. When you look at adapalene and benzoyl peroxide gel before and after (or before and after adapalene and benzoyl peroxide gel) images, you'll see how this combo flattens aggressive cysts that normally leave deep scars behind.
Pharmacies across India carry several brands of Adapalene gel. While the acne-fighting active medicine is identical, the gel base makes a big difference in how gentle and comfortable it feels on your skin:
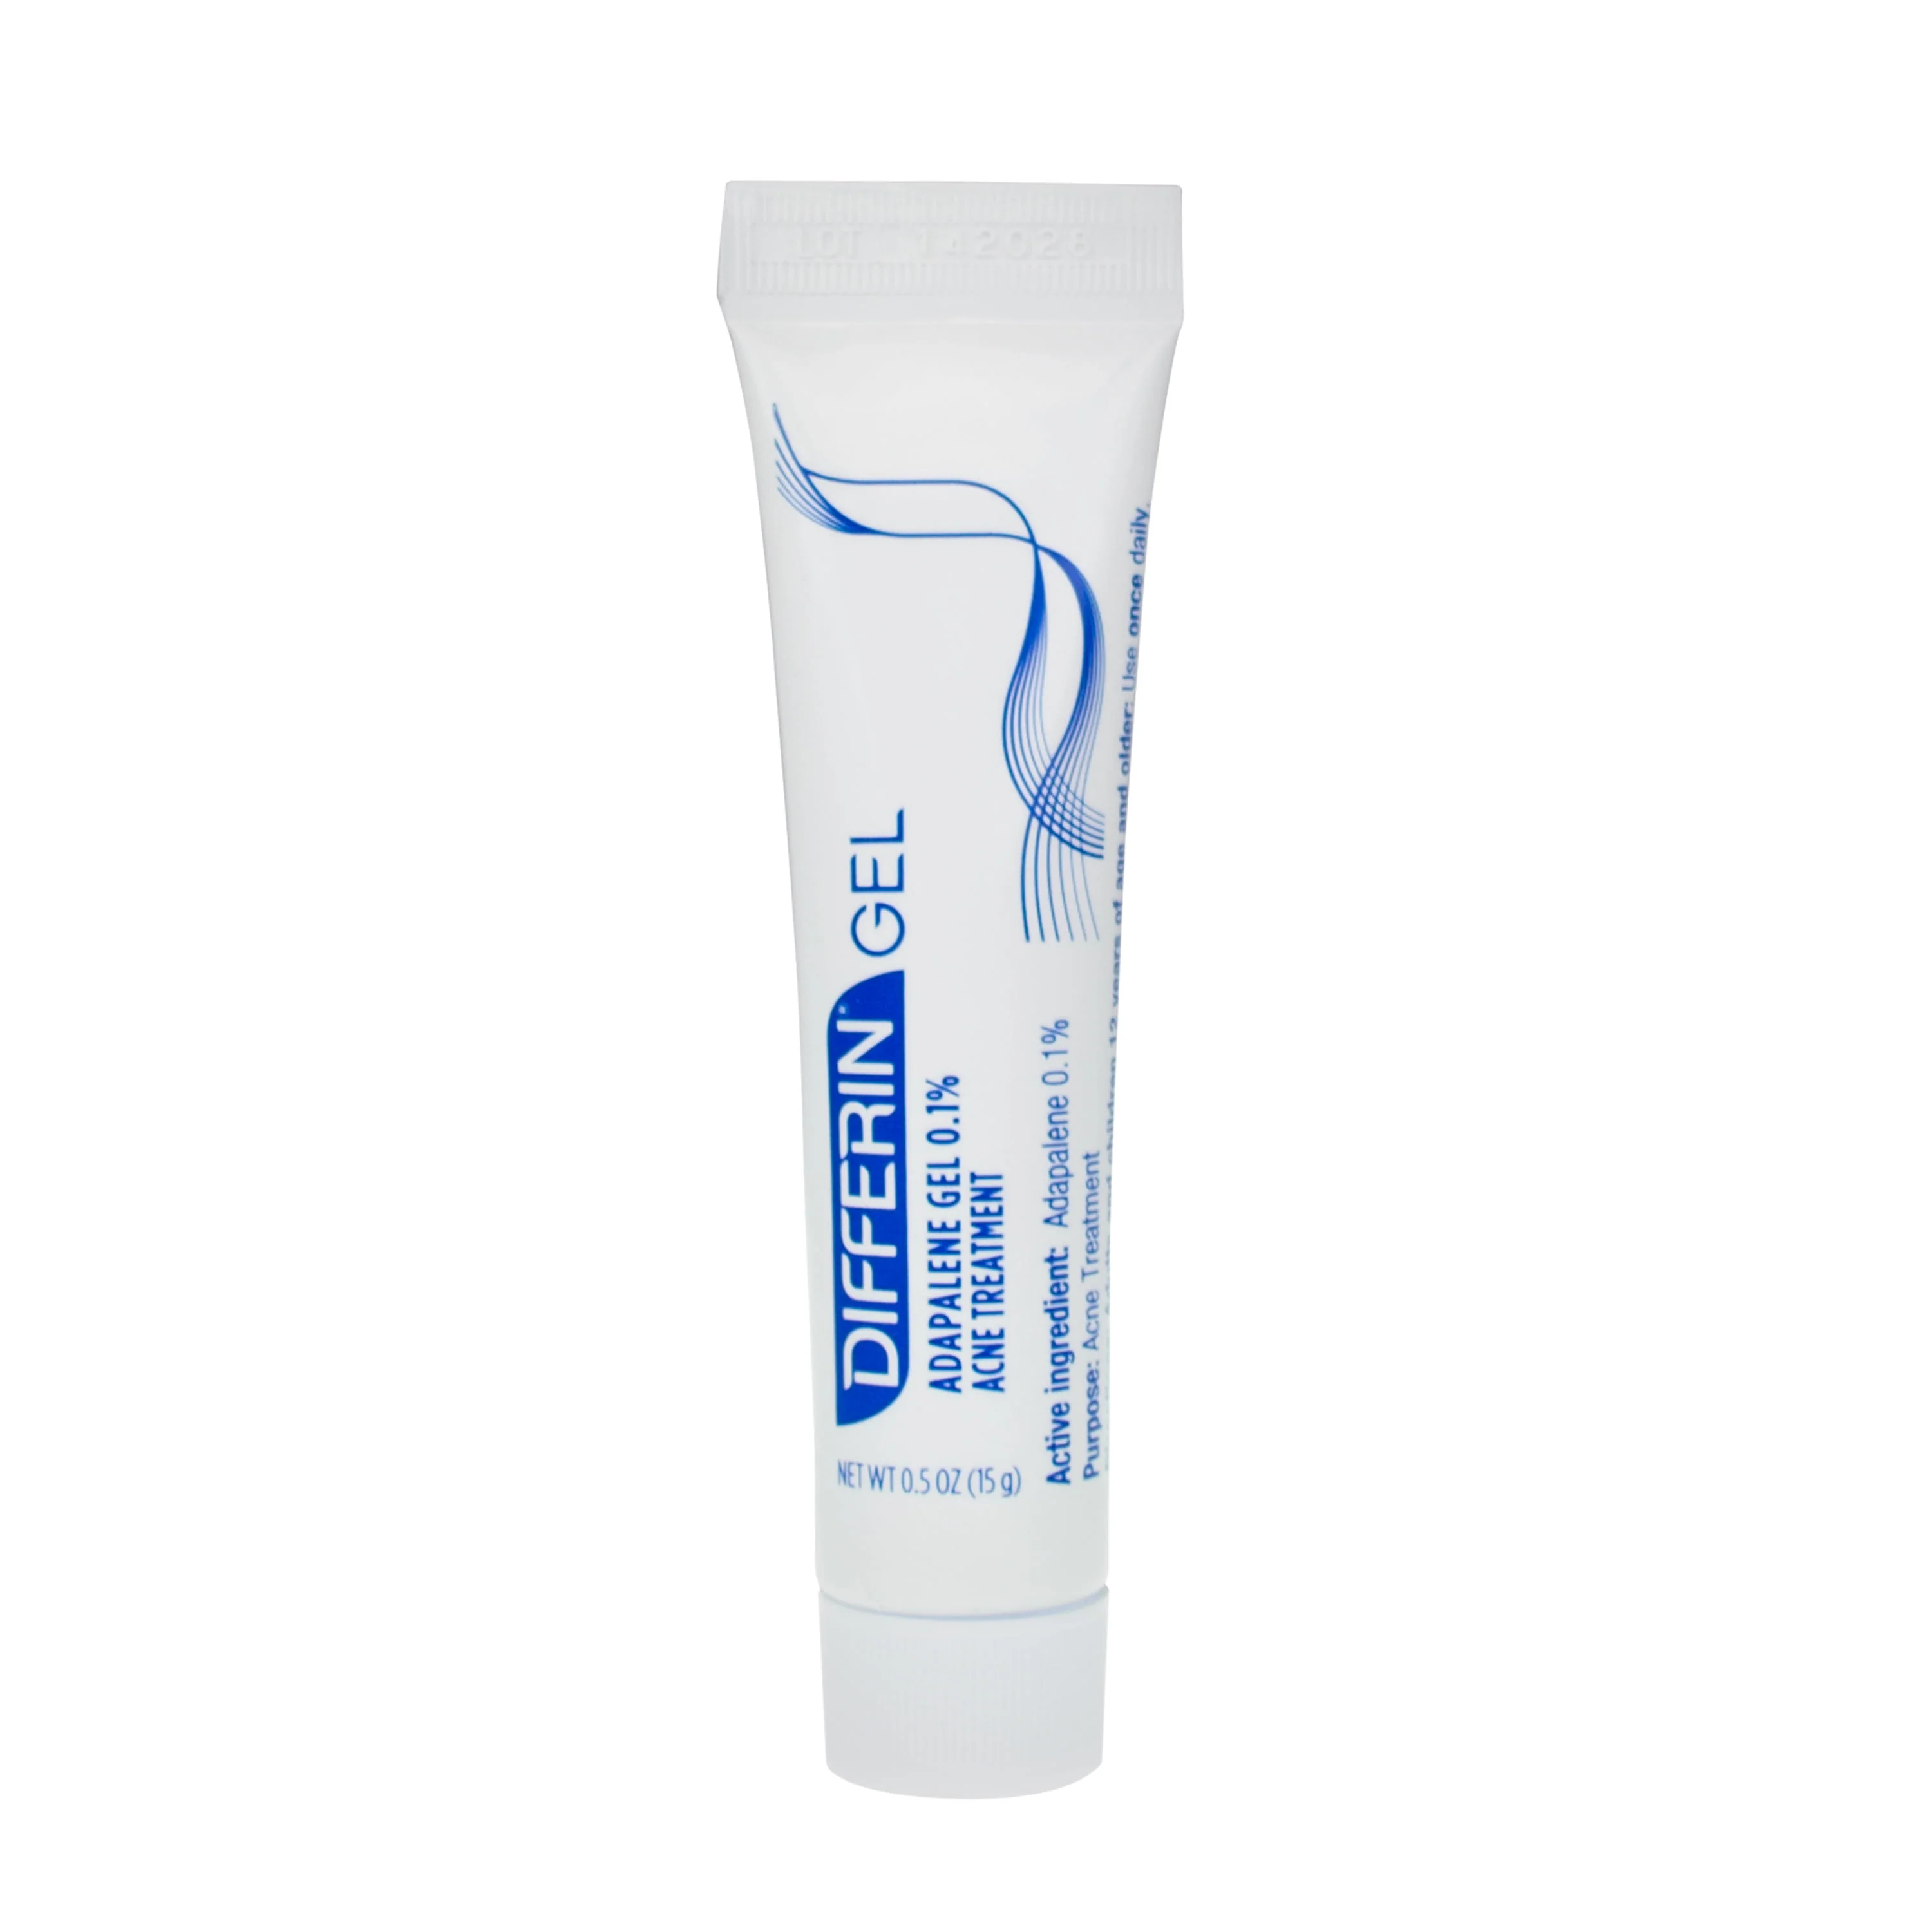
Differin 0.1% Gel (Galderma)
Vehicle: Aqueous Alcohol-Free GelThe gold-standard international gel. It uses a lightweight, alcohol-free water gel that absorbs in seconds without leaving any greasy residue, making it ideal for oily and combination skin during humid Indian weather.
Adaferin 0.1% Gel (Ranbaxy / Sun Pharma)
Vehicle: Smooth Water-Based GelWidely prescribed by Indian dermatologists. Delivers pure 0.1% Adapalene at an affordable price point (~₹350–₹450), giving you the exact same acne-clearing power as international brands on a friendly budget.
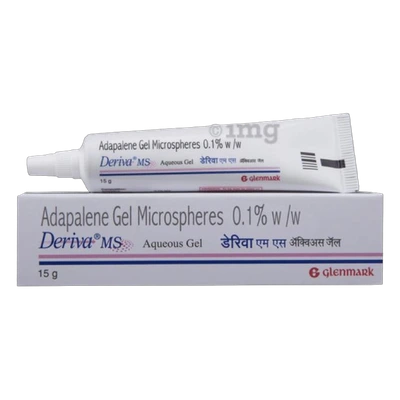
Deriva MS Aqueous Gel (Glenmark)
Vehicle: Micro-Sponge Slow-Release Gel (0.1% / 0.3%)Uses microscopic slow-release sponge technology to release the medicine gently into pores overnight. This significantly cuts down on initial stinging, redness, burning, and harsh peeling.
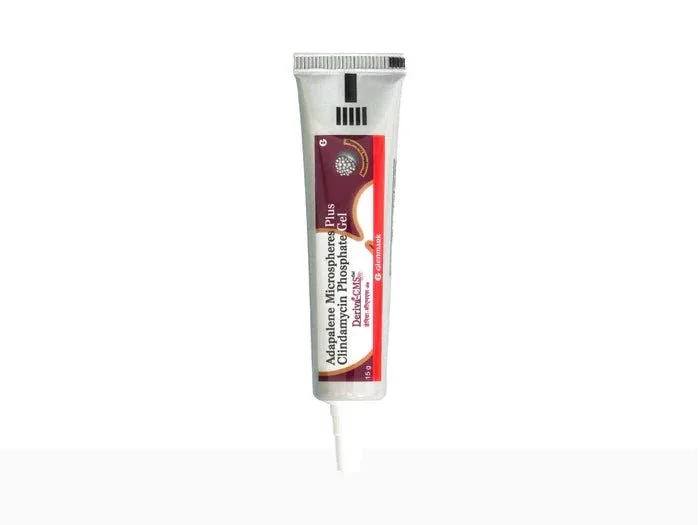
Deriva CMS Gel (Glenmark)
Vehicle: Adapalene 0.1% + Clindamycin 1% (Antibiotic Combo Gel)Dual-action prescription gel pairing pore-clearing Adapalene with Clindamycin (a topical antibiotic). It quickly kills acne bacteria, calms angry red swelling, and flattens pus-filled pimples while clearing trapped oil plugs.
Getting lasting clear skin while protecting melanin-rich Indian skin from dark marks is easy if you follow these simple golden rules:
- Use only a tiny pea-sized amount for your whole face across five target spots: forehead, chin, nose tip, and both cheeks. Applying more will not clear acne faster—it only triggers skin irritation, burning, and peeling.
- Use the gentle "sandwich method" if your skin feels dry or sensitive: apply a lightweight moisturizer first, wait 5 to 10 minutes for it to absorb, apply your pea-sized Adapalene, and follow with a soothing moisturizer on top.
- Daily broad-spectrum sunscreen (SPF 50 / PA++++) is non-negotiable every morning. Retinoids bring fresh new skin cells to the surface that tan and burn easily under the sun, which can make dark acne marks much darker without daily sun protection.
What adapalene purging looks like on Indian skin can be concerning. It often involves redness, flaking, and a temporary increase in breakouts. Understanding the adapalene purging timeline specific to retinoids is key to getting through it.
Use the sandwich method (moisturizer, adapalene, moisturizer) to reduce irritation. If you are wondering if it's a purge or a breakout, check out our guide on skin purging vs breakout in India. When purging becomes a red flag (like severe burning or cysts that don't go away), consult a doctor.
| What to Compare | 0.1% Aqueous Gel (Differin / Adaferin) | 0.3% Microsponge (Deriva MS) | Adapalene + Clindamycin (Deriva CMS) | Adapalene + BPO (Epiduo) |
|---|---|---|---|---|
| Active Strength | 0.1% micronized adapalene | 0.3% high-potency adapalene | 0.1% adapalene + 1% clindamycin | 0.1% or 0.3% adapalene + 2.5% BPO |
| Formulation Vehicle | Lightweight alcohol-free water gel | Micro-sponge time-release gel base | Dual-action combo gel base | Water-based dual active gel |
| Target Acne Type | Blackheads, whiteheads & mild surface pimples | Stubborn, deep clogged pores & rough bumpy skin | Swollen, red, pus-filled pimples & bacterial acne | Deep hormonal cysts & painful swollen bumps |
| Purging Severity Risk | Low to Moderate (peaks weeks 2–4, clears by week 6) | Moderate (mitigated by slow micro-sponge release) | Low (antibiotic curbs bacterial flare-ups) | Moderate to High (initial redness, peeling, and dryness) |
| Barrier Buffer Strategy | Light moisturizer 10 mins before or after | Sandwich method (moisturizer → retinoid → soothing moisturizer) | Light moisturizer; avoid using exfoliating AHA/BHA acids at same time | Rich moisturizer required; daily SPF 50 sunscreen is a must |
| Clearance Window | 8 to 12 weeks for visibly clear pores and fewer breakouts | 6 to 10 weeks with doctor guidance | 3 to 6 weeks for red pimples to flatten (antibiotic limited to 12 weeks) | 4 to 8 weeks for painful cysts to flatten |
Most people start with Adapalene 0.1%. Once your skin adjusts, a dermatologist might step you up to 0.3%. Compare formulations in our Adapalene vs Differin vs Adaferin comparison guide.
Indian and brown skin naturally has active pigment cells that produce dark spots whenever skin gets inflamed, irritated, or picked. Protecting your face against post-acne dark marks (PIH) while using Adapalene requires 5 simple rules:
- Wear daily sunscreen every morning: A lightweight, pore-safe sunscreen like Episoft AC SPF 30 shields healing skin from sun rays and prevents dark marks from getting darker.
- Use Vitamin C in the morning: An antioxidant serum like Minimalist 10% Vitamin C brightens dark marks and protects against daily sun and pollution damage without clashing with your night retinoid.
- Strengthen your skin barrier with Niacinamide: A gentle 2% to 5% Niacinamide serum helps calm redness, reduces excess oil, and strengthens your barrier against peeling.
- Never pop or squeeze pimples: Squeezing bumps pushes pigment deeper into the skin layers, turning a small pimple into a stubborn dark spot (PIH) that takes months to fade.
- Soothe irritated skin with Cica: Use one of the best Cica moisturizers to calm stinging and irritation before redness can turn into dark marks.
Most people notice a visible reduction in active pimples around week 6 to 8, with clearer, smoother skin appearing between weeks 10 and 12. Because Adapalene works deep inside pores to speed up healthy cell turnover rather than just peeling surface skin, giving the gel 3 full months of consistent nightly use is essential to see its true clearing power.
Yes, approximately 60% of patients experience a retinoid purge across weeks 1 to 4. As cell turnover accelerates, pre-existing clogged pores and tiny hidden bumps rise to the skin surface in clusters. This phase can be managed by applying moisturizer prior to the retinoid and spacing applications every other evening until tolerance improves.
Yes, by segregating them across your morning and night routines. Apply your antioxidant Vitamin C serum in the morning after gentle cleansing to defend against environmental oxidation, and reserve your Adapalene for nightly application on completely dry skin.
Adapalene 0.3% offers stronger pore-clearing power for stubborn, deep cystic acne, but its higher strength also increases the risk of redness, burning, and dry peeling skin. Dermatologists usually recommend starting with 0.1% so your skin builds tolerance comfortably before considering a stronger prescription.
Yes. By speeding up natural skin cell renewal, Adapalene helps shed darkened surface skin cells faster, allowing post-acne marks to fade more quickly. Be sure to pair it with daily sunscreen so sun exposure does not trigger new dark spots.
Yes, Adapalene remains safe throughout the year in Indian weather. During high-humidity monsoons, choose a water-based gel rather than a heavy cream, and apply a lightweight broad-spectrum matte sunscreen every morning before sun exposure.
No. Applying Adapalene every night right from day one can overwhelm your skin barrier, causing severe redness, burning, and peeling. Start by applying it 2 nights a week for the first 2 weeks, increase to every other night in week 3, and only transition to nightly use once your skin feels completely comfortable with zero stinging.
Adapalene keeps pores clear so deep bumps cannot form, but stubborn hormonal breakouts along the chin and jawline are driven by internal hormone shifts. For deep hormonal cysts, a dermatologist may recommend combination gels or oral medications alongside your topical retinoid.
Disclaimer: This MyMirror guide is for educational and informational purposes. Adapalene, Clindamycin, and Benzoyl Peroxide are potent dermatological actives. Always consult a certified dermatologist in India before starting a retinoid journey.
Before layering BHA with retinoids, check our dermatologist guide on mixing Salicylic Acid with Retinol or Adapalene safely without burning your skin barrier.